Pages

Thursday, 7 January 2016

Vogue 1191 Michael Kors Dress (OOP)

I've made this dress twice before on this blog back in 2010 (print here and solid here) and it is unfortunately now out of print so I won't blather on too much about it.  It's designed for 2 way knits and is one of those twisty patterns I still love to make where the pattern pieces bear zero resemblance to the shape they end up in.  

The instructions are a bit confusing in places and the pattern is rated as advanced, but as long as you carefully mark everything, preferably in different colours for different types of markings, and keep the pattern pieces to hand for reference eventually it does look like a dress!


The only change I made was to raise the centre front neckline which although looks very elegant on the model is too low for anyone with any kind of bust or who plans on moving around in the dress.  I showed the pattern adjustment for this in an old post here.  Oh, I also omitted the zipper again, the neckline is plenty wide enough that it is completely unnecessary unless you don't like pulling dresses on over your head.

My fabric is a grey and purple jersey, hard to see the purple in these photos though.  I really like this dress and recommend it if you can find it on sale and like this kind of challenging puzzle.


This is the time of year lots of bloggers reflect on their past year of sewing and make resolutions for the coming year.  My sewing output definitely went downhill in 2015 - partly because I thought my beloved BurdaStyle magazine was awful until August (though I think this is just how I personally felt about fashion in general this year) and also I just felt that I had enough clothes and no burning desire to make more for the sake of it.  Again reflective of my views on current fashions I think.   BurdaStyle has definitely picked up in the last few months though so lets see how 2016 goes.  I still love sewing and goodness knows I love fabric shopping!

Blogging has been a bit slow too and a large part of this is that I find it difficult to take photos of myself and just put off doing it to the point where blogging something I made months before seems pointless.  Now that I have a decent dress form that is pretty identical to my measurements I hope you won't mind too much if I make use of the dress form in more of my posts in future.  


Wednesday, 9 December 2015

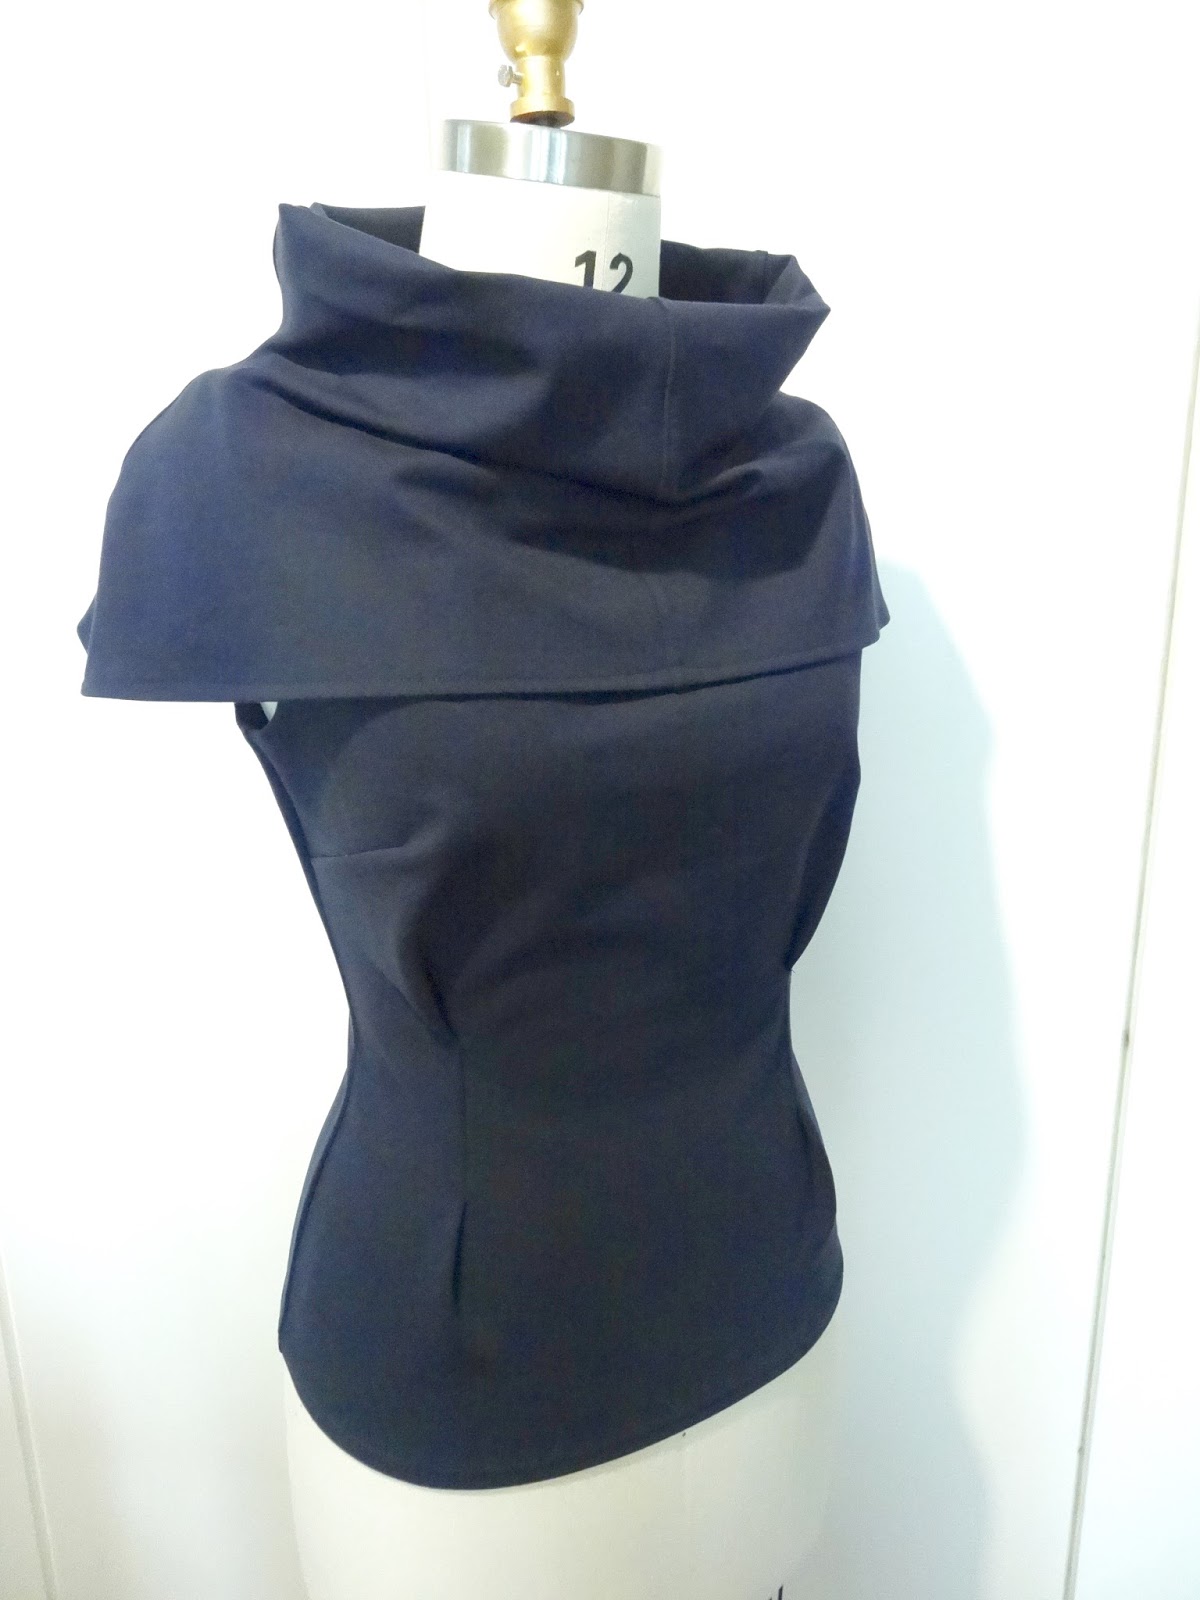
BurdaStyle 10/2015 - 110 Top & 108 Collar

Thanks to Sue for spotting that this pattern was a special offer on the Burda site on the very day I posted the dress version.  I honestly thought it was a typo, but I did a bit of digging around and Burda are offering a 25 cent pattern, bundle or course each day till December 25th, a fantastic opportunity to try their patterns if you don't already subscribe to the magazine.  You can access them daily from here.

Anyway here is the top version of the pattern, there is also an accompanying cape / collar thingy.

Pdf download version

I made this from quite a heavy double knit which is great for holding the shape of the collar on both pieces, but a bit impractical, it will have to be just the right weather to be able to wear a sleeveless top in a heavy fabric.  Somewhere indoors I suppose is the easy answer to that!


Construction is identical to the dress in my previous post, except there really was no need for a zip this time so I left it off.  The collar is a very quick and easy project.

You can see I have a bit of pulling at the back v from the bands.  The point of the V is better than on my dress, but it is pulling where the other side meets it, it really shows up in photos - I need to try and fix that, hoping a few handstitches to take the strain off will do the trick....


Bingo!  Had to go off and try this straight away.  As I thought I was able to fix this problem by just handstitching on the inside where the two bands cross each other.  It's not perfect, but much better and a quick and easy fix.


Here is the top with the collar.


Here I am wearing it, I just threw it on with the jeans I already had on, I think it will look better with a pencil skirt, maybe in a double knit too.  Good excuse to go fabric shopping (as if I needed one!).


Wednesday, 2 December 2015

BurdaStyle 10/2015 - 111 Dress

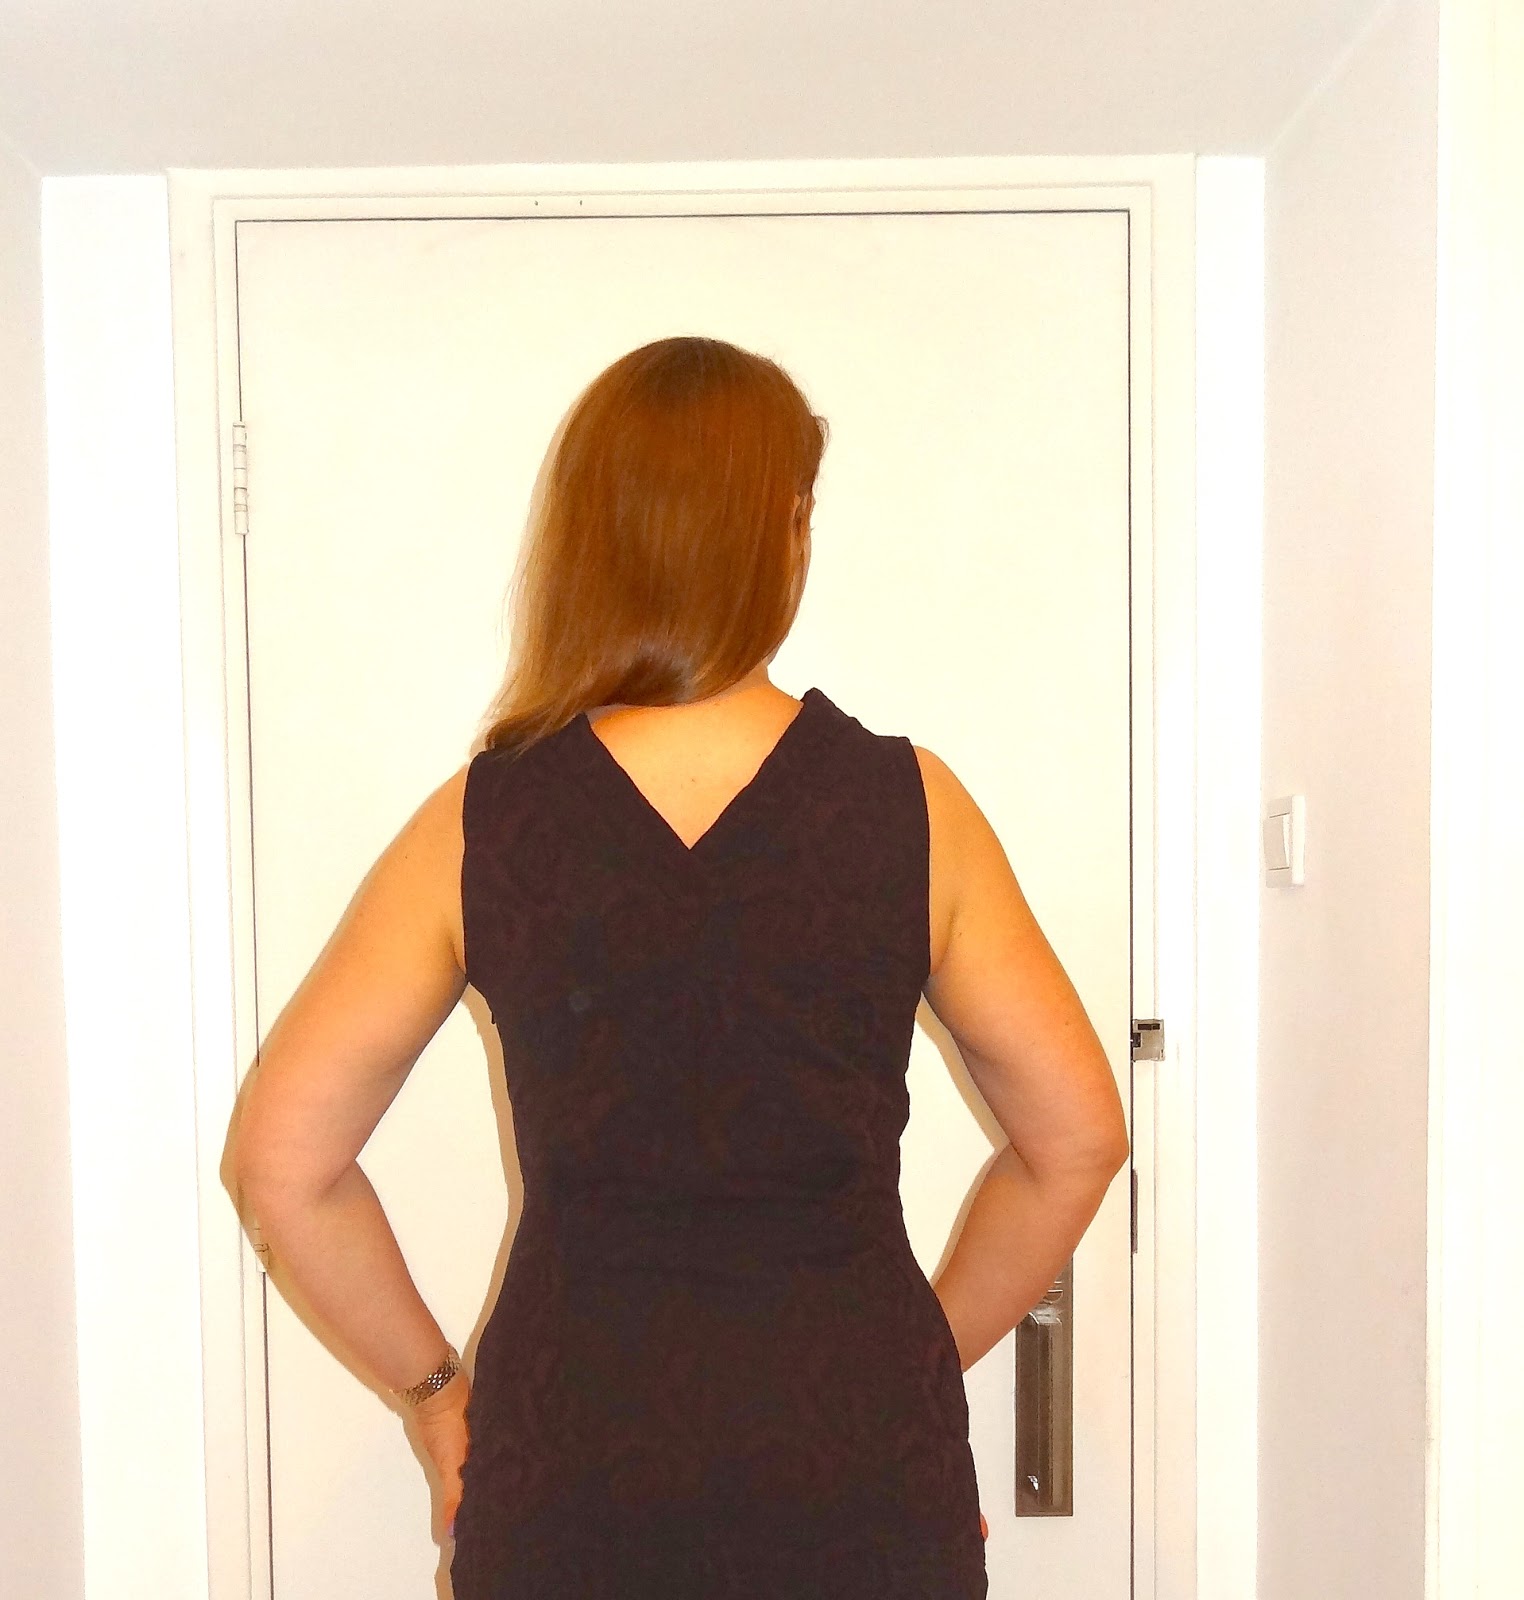
This is the dress featured on the cover of the October Burda, a sheath dress with a v back and a small cowl front neckline (also available as a pdf at the link below).  It's not too clear from the line drawing, but the vertical darts are open at both ends on the back and open at the top on the front.  I've also made the top version of the dress (110) and the matching capelet (108).  The construction is identical, but the look is so different that I'll put that in a separate post.  If you want to make both the dress and the top and don't have the magazine then don't buy 2 pdf patterns, Burda really should bundle them together I think.

(Edited to add : thanks Sue for pointing out that today only (2/12) the top pattern is available for just 25 cents!)

BurdaStyle 10/2015 - 111


I used a textured stretch cotton jacquard, but - and this is a big but - I didn't even notice I had cut it with the stretch going vertically until I tried it on before finishing the side seams!  Surprisingly it wasn't the disaster it might have been, but getting it on and off was a very undignified affair so my plans to skip the zipper went by the wayside and I inserted an invisible zip in the side seam.  With a stretch fabric used properly you may be able to skip the zip, you definitely can on the top (my top is in quite a heavyweight ponte so the drape is similar to this dress fabric).


This dress is the sewing lesson for the month so the instructions are more detailed than usual and also have diagrams so it's a good one to try if Burda's instructions are too minimal for you or you are a Burda beginner.


It is a pretty straightforward sew, the only fiddly bit is attaching the back neck bands which are extensions from the front piece and wrap around after joining the shoulder seams.  Rather like sewing an inset corner, you need to carefully mark the point where the band meets the centre back seam and stitch the 2 sides one by one so you can finish exactly at that centre back point.  Mine is pulling a bit even after doing this - it's quite bulky there -  so maybe basting each side separately first would be a good idea.


I cut the armhole facings from some scraps of black ponte just because I thought my textured fabric was a bit lumpy.  After attaching them, I decided to topstitch the armholes and trim off the excess.  I also sewed a deep hem by machine, nothing really shows in this fabric.

I like how the stiffness of the fabric makes the collar stand up at the front, I like this kind of structural detail.  Despite my silly error in cutting - and I'm still not sure if the stretch went along the selvedge or I cut it by mistake because I have none left - the dress worked out well and had enough give in it for me to comfortably wear it out to dinner.


Terrible back photo, but you can see here that the v is a good, wearable depth


Thursday, 26 November 2015

McCall's 7254 Cardigan

Last winter I wore my Mc Call's cardigan / jackets (6996 / 6844) so often that when this pattern was released earlier this year I bought it straight away.

McCall's 7254


I made view E, the longer, sleeved version in some leftover black double-knit.  Those collar bands however are fabric hogs and I didn't have enough so I decided to use a contrasting textured fabric for the outer band.  As soon as I pinned the collar band on I realised how stupid I had been because of course the band folds over and you see both sides.  Fortunately I had enough of the textured fabric to cut another band and unpick the original to salvage the textured fabric from that one.  If you decide to colour block remember both the inner and outer collar band need to be in the same fabric - trust me it looks silly otherwise.

Other than that silly error the cardigan went together really easily.  The textured fabric was tricky to sew and press - kind of like bubble wrap - so the edge isn't as crisp as I'd like and getting the seam to roll to the correct side is almost impossible.  Binding the raw edges together might have been a better option, but I am definitely not unpicking it again!


I'm still debating on whether to put some kind of fastening on the front, I'll probably wear it open most of the time, but I feel like it needs something.  I like the toggle option on view D which could easily be added on later.

I think this will get as much wear as it's predecessor, the things I loved about that one apply equally here - it looks like a jacket, but feels like a cosy cardigan to wear. I plan on getting some sweater knit for another version and I would like to try the shorter view too.


I'm excited to report that I have finally retired my 20 year old dress form and bought a new one from a store in the "garment district" of Hong Kong, Sham Shui Po (Nan Yang Mannequin for future reference).  Ordering was interesting as the saleslady had limited english, though it was certainly better than my cantonese, so there was lots of sign language involved, but I had printed things out from the website beforehand which helped.

Speaking of 20 year old notions, a commenter previously asked about my pattern weights which are ancient, but were made for Olfa to be used with cutting mats and rotary cutters.  They must still be available although I've seen tips to use large washers from DIY stores which look perfectly up to the job to me.

Anyway, now I have a proper working dress form and no more scheduled houseguests I'm hoping to get back to regular sewing and blogging.  Lots of catch up posts in the works!

Thursday, 10 September 2015

Purple Print Skirt and Coordinating Tops

I'm back from my UK visit (why does it take so long to get over jet lag the older you get?) and really want to get caught up with this sewing blog so I'm bundling together 3 finished items in this post especially as I have made all of these patterns before.

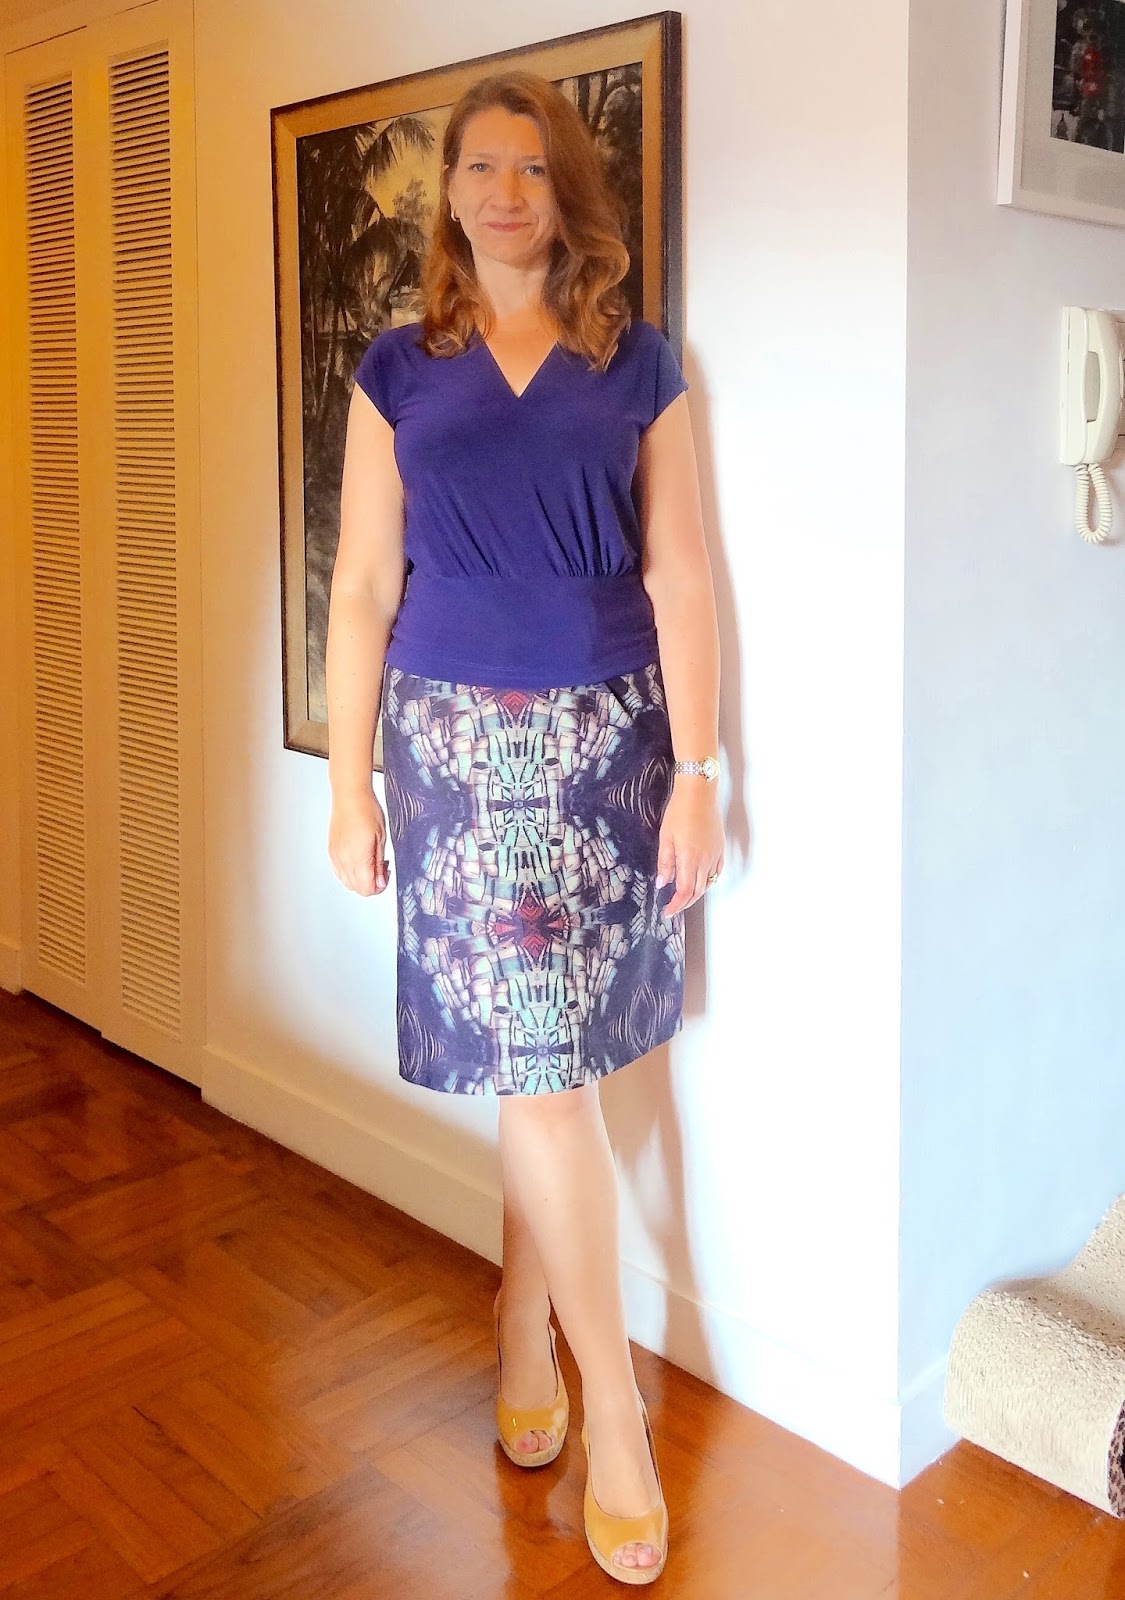
I recently bought this purple printed fabric, I really loved the design and colours in it and bought enough for a skirt and a dress (I think!).  On closer look I realised I needed to be a bit careful with pattern placement to avoid bullseyes in unwanted places which restricted my pattern choices a bit.


I also didn't want to waste fabric by chopping up the print too much so I picked a Burda skirt pattern (03/2009 - 109, made previously here) with a side zip and a slight a-line so that no back seam/split is needed to be able to walk in it.  I decided it was safest to place the purple eye shapes at the sides and completely by accident the skirt width is just about right so they meet and form a pattern at both side seams.


I inserted an invisible zip and the waistband is secured with a hook and bar.  Although the fabric is some mystery lightweight synthetic I lined it with purple silk so that it still feels nice and cool to wear.


This print offers a lot of options for co-ordinating tops and I think the colours make it wearable in cooler weather too, but for now I have made 2 short sleeve knit tops to go with it.  


This is yet another version (#4!) of the top half of Burda 08/2011-126 in a dark purple jersey.  You can see the first version here.


This top is made from Style Arc's Marita dress pattern, again made several times and also as a sleeveless top.


This time I decided I wanted extended shoulders which was very easy to do on the back and slightly less easy on the front due to the unusually shaped pattern piece, but hopefully the photos below show what I did - once you identify the shoulder and armscye it's quite easy.  Sorry if it is confusing that I took the pictures upside down so the neckline is towards the front of the photos.

Adjustment to the back, simple enough.


Adjustment to the front which is a single pattern piece.


I am still struggling with taking and adjusting photos since my computer upgrade so that you can see the details, it's driving me nuts, but I will not be beaten!