Pages

Showing posts with label pants. Show all posts

Tuesday, 12 December 2017

BurdaStyle 09/2016 - 118 Long Waistcoat & 110 Stretch Trousers

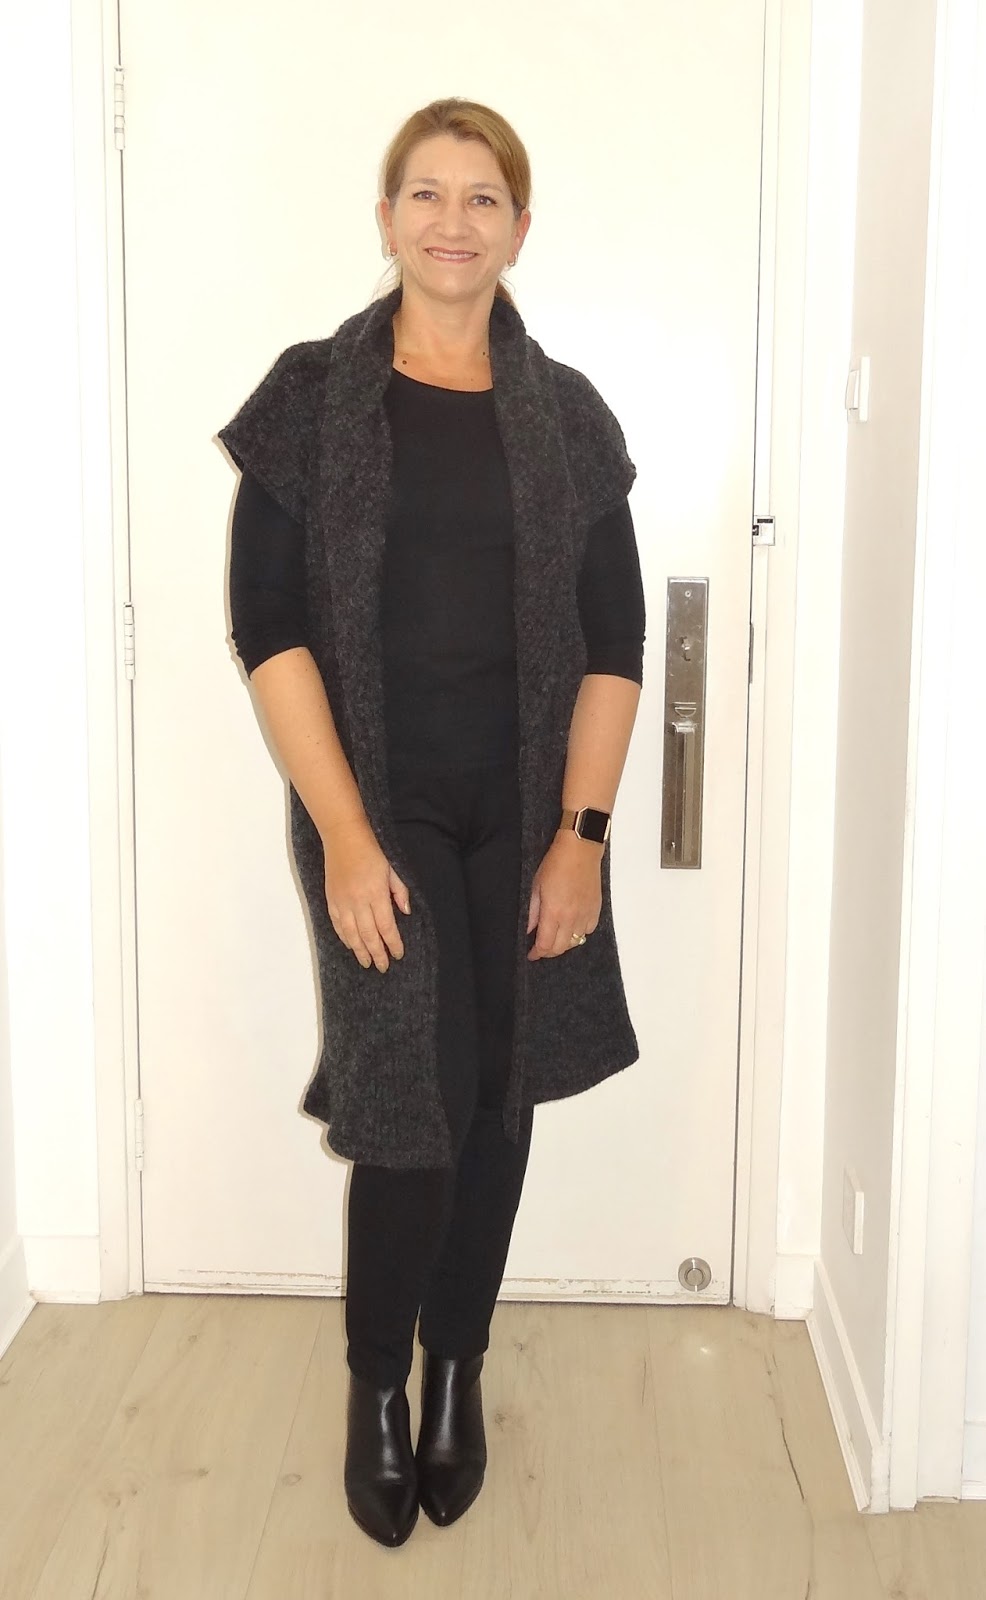
Two pieces from the 9/2016 Burda worn together!


I first made this long knit waistcoat as a gift for my sister and planned to make one for myself. (previously blogged here).  It only took me a year to get around to it!

09/2016 - 118 Long Waistcoat

I actually made the trousers at the beginning of the year, but they proved so impossible to photograph that they didn't justify their own blog post.  I do want to highlight the pattern though because it is a good one.  Designed for stretch fabrics and with front and back seams, a back yoke and a centre back seam in the waistband, you can really easily tweak these and get a great fit.

Mine are in a black ponte and I left off the ankle zips.


Back to the waistcoat....the version I originally made for my sister was in a knit boucle, a much better fabric choice than this one in a very soft sweater knit which stretched like crazy!  I had put the pockets in, but they ended up somewhere near my knees and were quite bulky so I removed them.  I also had to trim the collar down considerably and you can see that the hem is wavy also.  I might fold it up again and see if that helps.

This really should have been a quick and easy project, but ended up being incredibly frustrating to make.  It is great for our current in between weather though so I am trying to forget all the annoyances!


Thursday, 25 February 2016

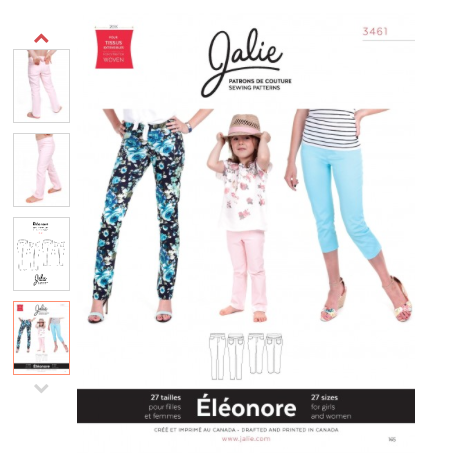
Jalie 3461 Eleonore Pull-on Jeans


This Jalie pull on jeans pattern has proved really popular and I was curious to try it having only ever made Jalie tops before.  I used a medium weight stretch cotton sateen that I really thought was dark olive in the store when I bought it, but is clearly chocolate brown.


I used the size that corresponded to my hip measurement and the fit was pretty good except for some gaping at the centre back, before attaching the waistband.  I just took a wedge out of the back yoke centre seam.  I also took the waistband in at the side seams.  I made these adjustments completely independently of each other by fitting as I went so I'm not quite sure how I still managed to get the waistband to line up with the body of the pants - the wonders of stretch fabric I suppose!

The instructions, as always for Jalie are excellent and these jeans are very easy to put together.  The leg seams are sewn after the crotch seam which makes it easy to tweak the fit of the legs.  The only part that needs a bit of care is attaching the very curved front yokes to the front pieces to give the false front pocket effect.  I had to unpick one of mine as I messed it up the first time.  You could also just extend the front pieces when cutting and eliminate the front yokes altogether, but if you follow the directions to clip the curve and go slow you should be fine.


I really liked the waistband treatment on these, I haven't come across it before.  The elastic is zig zagged onto the inside of the waistband without stretching it and then the waistband is assembled and attached to the pants.  Obviously this method only works with stretchy fabrics.  I've seen a few people comment that they did stretch the elastic at the back and I might try that next time given the alteration I had to make to the fit at the waist.

This is the inside back waistband, the zig zag stitching securing the elastic in place is only visible on the inside.


Overall I really like how these turned out, they are quite quick and easy to make, very comfortable and I can definitely see more of these in my wardrobe including the cropped ones for summer.  Actually I must confess I cut a pair in navy soon after finishing these, but when I went to sew them I have somehow lost the back legs!  I really need to have a good clearout of my sewing room, they've got to be in there somewhere!


Monday, 26 January 2015

Sewing for Men - Thread Theory Jedediah Shorts

It was my husbands birthday soon after Christmas (30th December, such a pain!!) and as we were going to be in Thailand on a big family holiday and buying shorts in winter is almost impossible I decided to make him some as a gift.

I tried a new to me pattern company that specialises in menswear sewing patterns.  This pattern looked to have a modern cut, had good reviews and was available as a pdf, because of course I had left it late to get started.

Thread Theory Jedediah Pants


Link to Thread Theory Jedediah Sewalong

I wanted these to be a surprise so I had to wing it on the sizing.  Going through my husbands wardrobe was no help at all, he has shorts in size 30, 32 and 34 so I made 2 pairs - a 32 and 34.  Our family trip included my father in law, 2 brothers in law and 4 grown up nephews so I figured they would fit somebody!


Actually they both fit my husband quite well, when I asked for some feedback all I got was "one pair is closer fitting than the other".  This was not news to me!  Further investigation only yielded that the looser ones are better for doing activities in, the smaller pair are smarter and which he prefers depends on whether he's having a fat day or not!  So I can't give you much advice on sizing but I think if I make them again that I will go with the larger size.  The image above makes the red ones look much bigger, but there isn't a huge difference between the 32 and 34, really hard to get them to lie flat so this isn't very scientific.  I deliberately made the larger, red ones a bit longer.


The instructions are pretty good and there is also a sewalong on the blog.  The only change I made to the pattern was to straighten off the legs a bit instead of having them slightly tapered and shortened them and left the hems plain instead of cuffed.

I deviated a bit from the instructions when it came to finishing the waistband.  The instructions have you fold the waistband back on itself, tuck as much of the shorts out of the way and machine stitch.  It's a bit tricky, but is well documented on day 7 of the sewalong if you want to do it properly.  However I copied some RTW trousers of mine and simplified it by serging (instead of binding) the exposed waistband edge, folding it in by the zipper before topstitching the waistband, it's not at all bulky and is easy to do.

This is how Thread Theory's look on the inside compared to mine which you can see on the inside views.


Tuesday, 6 January 2015

BurdaStyle 08/2014 - 132 Knit Top and BurdaStyle 03/2014 - 115 Jeans

Happy New Year!  I started drafting the next few posts before Christmas so there won't be any end of year round ups or resolutions from me, I'm just going to keep rolling on!  However as a New Year special it's 2 garments in one post today.

First up - BurdaStyle 08/14-132 Top

I'm always drawn to knit tops with a bit of detailing and Burda often have these kinds of patterns in their magazine.


This one is from the August 2014 issue and is really straightforward to put together.  It is however quite oversized so I would recommend going down at least a size if not two, I cut my usual 38 and took in the side seams, including the sleeves by around 2 inches each side and it is still loose.  You can see from the line drawing though that it is quite boxy so I think it is supposed to be this way, but I found the waist pleating to be way below my waist as well.


Kristy made this in a ponte knit and took it in even more to get a much closer fitting top.  My knit is very lightweight so I have stuck with a drapy tunic style this time (also my pleats would disappear into the side seams if I took it in anymore).  It's fine, there is definitely a place in my wardrobe for this kind of top, but if I made it again I would try and add a bit more waist definition and raise the line of pleats up higher.  It does however work well with skinny pants which is good because I also made some of those....

BurdaStyle 03/2014 - 115 Five Pocket Trousers

I found some stretch fabric on one of my recent trips to Sham Shui Po, it was very cheap and has a faux suede texture with a sort of croc pattern on it and it immediately said skinny pants to me.


I went through my more recent Burda magazines and picked this classic jean style pant which also happens to be the illustrated sewing course in the March 2014 issue.


Given the fabric was so inexpensive I didn't bother with a muslin, I started with a size 40 and added extra seam allowances at the sides so I could tweak the fit later, Burda's pants draft does seem to fit me quite well so this seemed a good place to start.  I ended up taking the waist in quite a bit at the sides and centre back and trimmed the outer legs down till I got the fit I wanted.  Learning from my last pant making experience I redrafted a curved waistband and facing instead of the straight strip.


The instructions are pretty good, even for the fly front.  I tried to get clever though and catch my belt loops in the waistband which was all well and good until I realised that I then couldn't topstitch the waistband.  Oops, I don't intend to wear these with the waist showing, but the topstitching would help give the waistband more structure.  Next time I will follow the instructions!


You can see I really struggled to get these to lie flat or get the right light for photos, but the end result is exactly how I pictured them in the fabric store and while black skinny pants will go with many things, I really like them with my new top.


Wednesday, 4 June 2014

Burda Style 03/2012 - 126 Pants

I can't remember the last time I made pants (I would call them trousers, but pants is quicker to type!), but thanks to my hip/waist differential it is difficult for me to get a great fit in RTW so they really should feature more on my sewing list.

I picked this pattern because I really liked the interesting seaming on these - not that anyone can really see it here.  I was intending to make them cropped which is how I like to wear pants in the summer, but I liked how they looked at the longer length too and thought stuff it, I'll just roll them up when I want them shorter.


Close up of front seam detail


This pattern has no side seam but does have seams on the front and back leg so there is scope for adjusting the fit of the leg.  Actually I found these to be a pretty good fit as they were, except for one thing which should have been obvious to me...the waistband is straight when I really need a curved one.

However I had stupidly already attached and trimmed the waistband seam so I fudged it by putting a few tiny darts into the waistband and taking it in at the centre back where there is a seam.

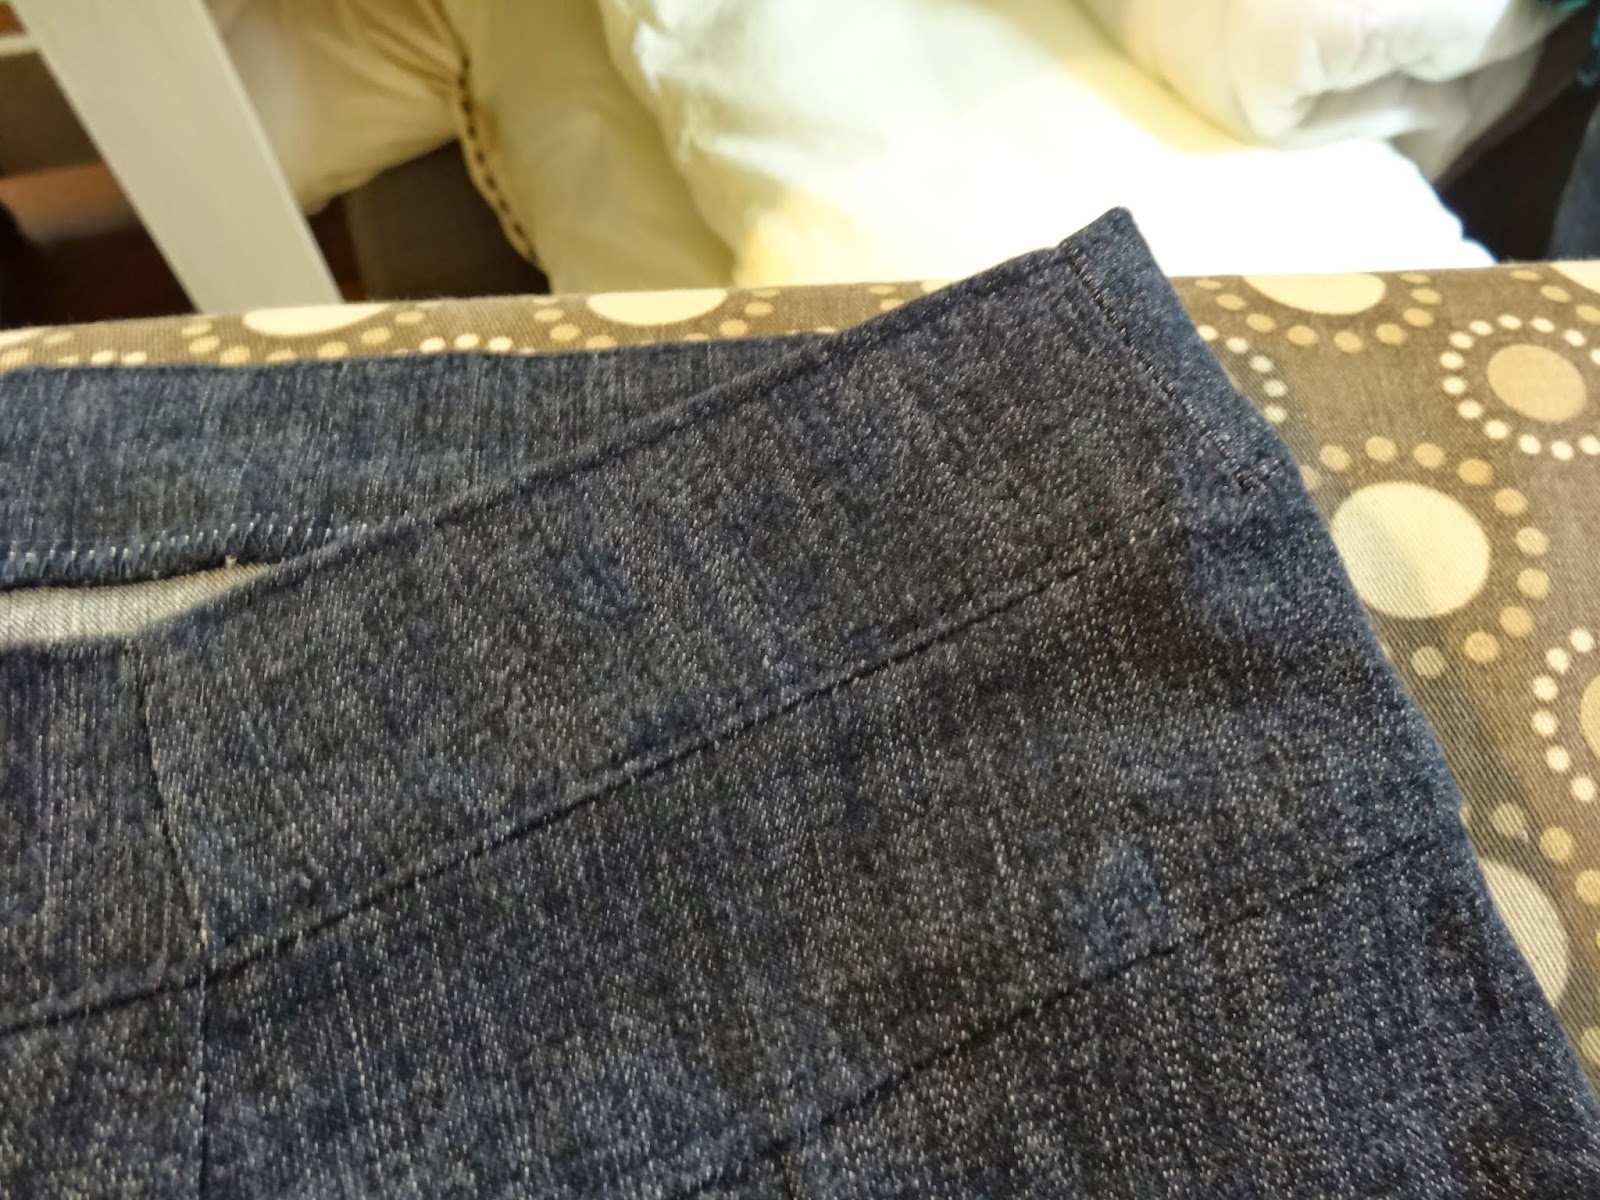

Other than the waistband "fix" the other change was to leave off the front leg horizontal seams and back welt pockets out of sheer laziness really as I knew I'd never use them and they wouldn't show up anyhow.

My fabric is a lightweight denim with some stretch, really nice which is good because I have lots more of it left.

The instructions were surprisingly good, even the fly front instructions made sense!


These aren't perfect, there's a bit of extra fabric in the upper front that kind of puffs out when I sit down in them and I probably need to go down a size, but they are probably still a better fit than anything I can find in RTW so maybe there will be more pants popping up here in future.