Pages

Thursday, 21 November 2013

BurdaStyle 11/2013 - 117 Jacket

As soon as I saw this jacket in the November Burda magazine I knew I had to make it and had the pattern traced out the day I got the magazine.  Finishing it took a little longer, but hey, it is still November!


If you don't have this issue then the good news is that the pattern is available for download here.

I'm not quite sure what fabric Burda used, mine is a charcoal coloured doubleknit and it didn't have anywhere near the amount of body that their fabric does.  I quite like big dramatic collars, in fact that was one reason I was attracted to this pattern, but it needs to be in the right fabric to work.  I found it worked better if I took some of the volume out of the collar - approximately 3 inches off the straight back edge.  I also decided to face the collar so I cut two additional pieces and stitched them to the outer pieces before sewing in the right hand side of the zip and then securing them to the seam allowances on the inside.  This gives the front and collar a bit more structure than a single layer of doubleknit.  Mine is still more of a sweatshirt than a jacket, certainly in the way it feels to wear it, but this is a good thing!


My jacket is a much simpler version in that the sleeves are in the same fabric as the body of the jacket rather than in faux leather and I didn't add the leather trim around the outside edges, mostly because I couldn't quite find the right trim and I liked the look of it as it was.


I found the instructions to be hard to follow, but that might have been my fault, they are quite long, my attention span is quite short and it's possible I missed bits.  That said, it is a fairly straightforward pattern to put together, but you must label the peplum pieces carefully because they kind of all look the same.

The sleeves were insanely long, but I think they are meant to be worn scrunched up, I knew that would drive me nuts so I removed the seam allowance, added a really deep hem and they are still pretty long.  The final step is to add 2 snaps and I recommend trying the jacket on to see where you want to place them to get the fit right rather than just relying on the instructions.


I love how this turned out in the end, a really cosy, comfortable, but still fitted moto jacket and the shape should work with lots of different bottom pieces.


Monday, 11 November 2013

Vogue 8907 Top

I previously made View B of this top here and in that post said I planned to make View A.  Usually making rash statements like that on this blog mean that it never actually happens, but in this rare case it did.

Badmomgoodmom asked a very good question on View B - she wondered if the asymmetric drape made it pull to one side.  I didn't find that it did because the drape extends across the whole back and is caught in the back neck seam and the hem.

This time I made View A in a very lightweight and badly behaved poly.  Getting the hem straight and the extra cape layer to hang properly was a nightmare.  This top is supposed to be a bit longer, but as I kept trying to trim the bottom straight it got shorter and shorter until I finally just decided to hem it as it was before it turned into a crop top.

The reason I used a badly behaved poly is that I totally fell in love with the print, a sort of enlarged fish scale digital print which I found at the fabric market in Sham Shui Po.  The fabric itself actually feels quite nice, it was just a devil to work with.


Sleeve detail

Neckline detail, as before I changed the facings to a binding strip, but the neckline one is too wide, not risking redoing it though and leaving visible holes.

Fortunately I don't think people will notice this in real life - the hem of doom!


Well, a few days in the magic closet and some time to forget the hemming traumas worked wonders and I now really like the top.  I like this sort of unusual draped style and I really do love the print.  I have some left to make another top or perhaps a scarf if I can face cutting and hemming it all over again!  There are so many lovely prints around in this type of fabric that I am determined to master it.


I initially planned to wear this with jeans but in taking these photos I prefer it with the denim pencil skirt.  Still, it's good to have options!


Thursday, 24 October 2013

BurdaStyle 06/2008 - 109 Zip Top / Jacket & Patrones 272/48 Skirt

It seems that taking photos of myself is the bottleneck for this blog, I need to schedule more vacations!

Here are two pieces I made recently, not necessarily to be worn together.

First is this top / jacket from BurdaStyle 06/2008 - 109.  I had a remnant of black doubleknit and a fun patent zipper that needed using up and this pattern seemed to be the perfect match.  This isn't the kind of thing I would normally make or wear, but this was so much fun to put together and looks very RTW sportswear.

This is a very easy pattern to make, although to get Burda's results a coverstitch machine would be nice!  I made a size 38 with just one alteration.  The instructions are to simply turn the neck edge, but I decided to draft a facing which I topstitched down - my fabric is probably heavier than the one they used and I felt I needed something with more structure.  Although my zip was the perfect length in total the teeth come a bit short and the neckline on this top was already pretty low so I wanted to use the whole zipper length.  Alternatively I could have shortened the hem band I suppose.  The opening at the neckline does look a bit unfinished, I might look out for an interesting closure to fill the gap.


Confession time - after I had carefully sewn on the exposed zip, feeling rather pleased with myself at my straight stitching I zipped it up only to see that my pockets were horribly misaligned!  Unpicking the zipper would probably have left holes in it and I didn't fancy unpicking one of the pockets in this fabric either so I cheated and put some tape over the seams, offset to look they they match and added another row of topstitching where needed to make the two sides look the same.  


The neckline on this top is very low and loose fitting, there is no way you can wear it without something underneath it which is a bit annoying, but overall I am glad I used up fabric, zip and got to try something completely new (to me).


I'm still figuring out ways to wear the - what, top, jacket, cardigan?  I think it will work best as an hoodie alternative to throw on over workout clothes although the short sleeves probably rule that out for half the hemisphere at a time!  For the purposes of killing two birds with one stone I'm wearing it here with a simple stretch jacquard pencil skirt.

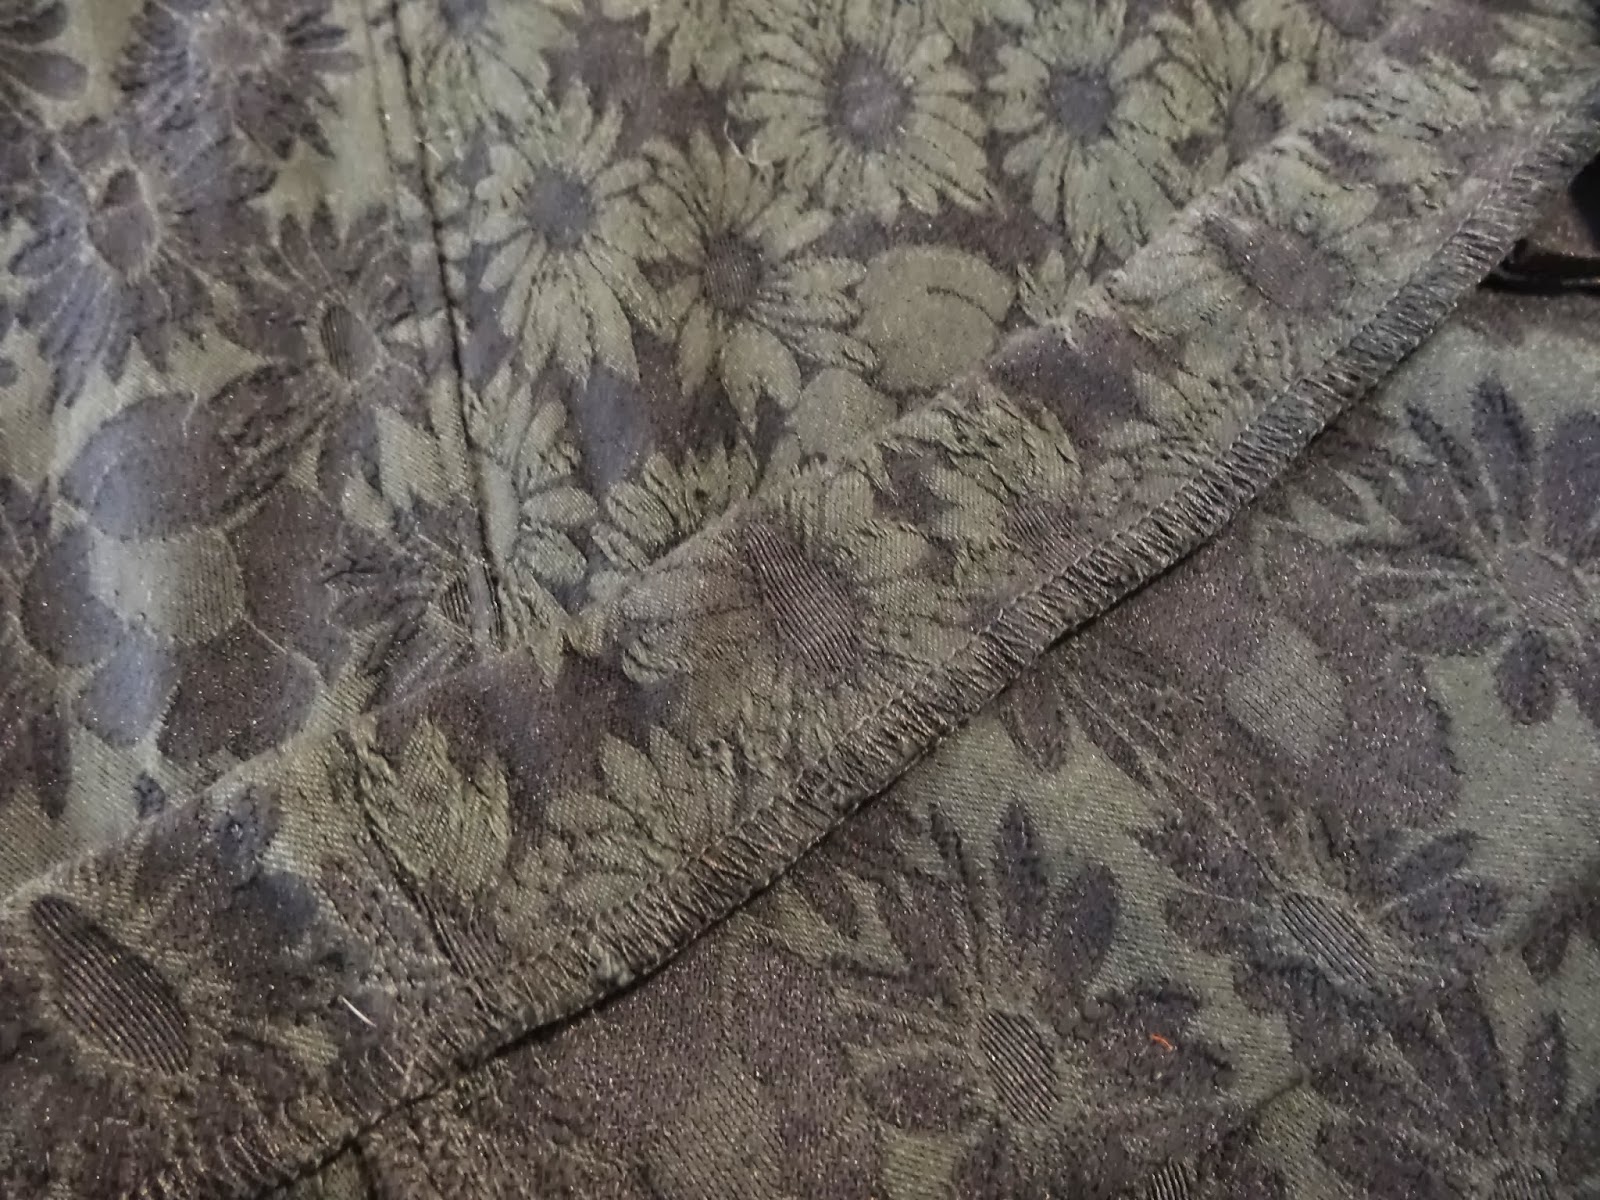
This was a remnant of some stretch fabric I picked up on a recent jaunt to HK's garment district (the rest of the fabric is a simple sheath dress, in the blogging queue).  The two sides of the fabric are different and I decided to play this up and use alternate sides on the centre and side panels, although the effect is quite subtle and can't be seen in my lousy modelling photos at all.


The fabric is so stretchy that I omitted the zipper and just did an elasticated faced waistband, using the exact method shown here.  You can see my chalk marks on the elastic below that I used to divide it into quarters and match to side and centres of the skirt.


The pattern is a panelled pencil skirt from Patrones issue 272 - #48, but it is such a basic skirt shape there are plenty of similar patterns around.  You really can't see the skirt details at all below, but here is the whole outfit.  I'm predicting this will be a workhorse skirt in my closet and I'm even starting to look forward to cooler weather so I can wear it with boots and a sweater.


Thursday, 10 October 2013

Patrones 305/4 - Shorts

Here's something you don't see everyday on this blog - shorts!  In fact I don't think I've even worn shorts for about 10 years, but there is something about vacation dressing that I find quite liberating so I thought I would give it a go.

This is the same fabric that I used for my khaki pencil skirt so it has a bit of stretch to it.  The fabric remnant only cost me around US$ 5 so I was pretty happy with being able to squeeze two garments out of it, and aside from having to invest a bit of time this was the perfect fabric for a bit of experimentation.

To take it one step further I used a Patrones magazine pattern, pattern 4 from issue 305.  I have a couple of years worth of these Spanish pattern magazines and they do seem to like their shorts, this particular style came with a large photograph in the magazine which helped me figure out how to make them.


 I started with a size 42 (the sizing is different to Burda where I am a 38-40) which required very little alteration and I lengthened them by a good few inches.  Not ready for short shorts just yet, baby steps!


I speak practically no Spanish so I just winged it on the construction, but these went together fairly easily.  The only part that gave me trouble was the front waistband detail, I couldn't figure out how to get a neat and bulk free finish with the 3 separate pieces.  Then I realised that since the shorts have a side zipper I could just fake the look of the front.  I redrafted the waistband as a single piece with just a pleat where the buttons are, topstitching the edges of the pleat to mimic the original design.  This worked brilliantly if I say so myself, sometimes having no instructions can be a good thing and make you think for yourself.


These are the last of my Italy modelling photos, I do have a couple more things I made for the collection that didn't get worn so they will be coming soon and I will try and engineer some more interesting Hong Kong photos than the back of my front door.


Cats everywhere, I don't know who feeds them but they are all fatter than my own stay at home, do nothing all day moggies.  I realise this is a BurdaStyle kind of photo where you can't see the shorts at all, but well, cats!

This is inside the grounds of the Palazzo Pitti in Florence, one of the residences of the Medici family.


Thursday, 3 October 2013

BurdaStyle Magazine 02/2006 - 113 / 114 Skirt

This is the 3rd time I have made this seamed pencil skirt, this time since it was in a khaki fabric I added the little, somewhat useless, but functional in theory, pocket at the hem.  (My husband looked at the finished skirt while it was on my cutting table and asked me where I was going to put the pocket.  Er, there.)

This version is actually a hybrid of pattern 02/2006 - 113 and 114 seen below though I can't recall which is which now.  I used the small, low pocket with the plain hemband.  I also left off the waistband and just drafted a facing by placing the finished fronts and backs onto fabric and cutting curved bands to fit.  The back is very plain with a centre back seam and invisible zip.  My pockets are lined with some scraps of silk.


I don't know why I didn't already have a khaki skirt in my wardrobe, I love it, so easy to wear, in fact I wore it on 2 days during the trip.

First waiting outside our hotel, which was about 3ks outside the city, for a cab to take us into Florence. these are the practical shots where you really get to see how the skirt looks.


In Florence outside a random giant door.  You probably can't see but I was feeling very pleased with myself here for finding a copy of La Mia Boutique at a news stand, it was the September issue and came with a free issue from November 2011.  I snapped it up and carried it around sightseeing the entire day.  Of course it turns out you can buy the magazine pretty much anywhere, I was able to get October's later in the trip too although I was a bit smarter and didn't buy it first thing in the morning.


My well travelled magazines! I'm a bit embarrassed to say that this was my only sewing purchase on the trip, sorry fabric fans!

I also wore the skirt on a half day trip to Pisa.  It seems I have gone from a person who did not understand the point of pockets, other than in coats, to not being able to keep my hands out of them.

You can't see the skirt here, but I thought I would include the obligatory leaning tower shot for fun!